
The GYEON Step-by-Step Guide to DIY Ceramic Coating
Posted by JEFF MCEACHRAN

For many DIY detailing enthusiasts, applying a ceramic paint coating may sound intimidating. But with the proper knowledge, tools, and a GYEON ceramic coating designed for ease of use it is not hard at all. Let’s walk through the step-by-step process of applying one of our do-it-yourself paint coatings.
Always start by reading the included GYEON Manual inside every ceramic coating kit. Follow the step-by-step instructions with illustrations inside to ensure success.
Proper Preparation and Decontamination

Like most things, the key to success is in proper preparation. This is no different when applying a ceramic coating to your paint. Make sure to perform a thorough paint cleaning and decontamination prior to coating. How intense this decontamination stage is will depend on the age and condition of the car but should always include an iron removal stage and the use of a clay bar. We would almost always recommend a single-stage polish to remove all embedded contaminants and bring out the most gloss and clarity before ceramic coating.
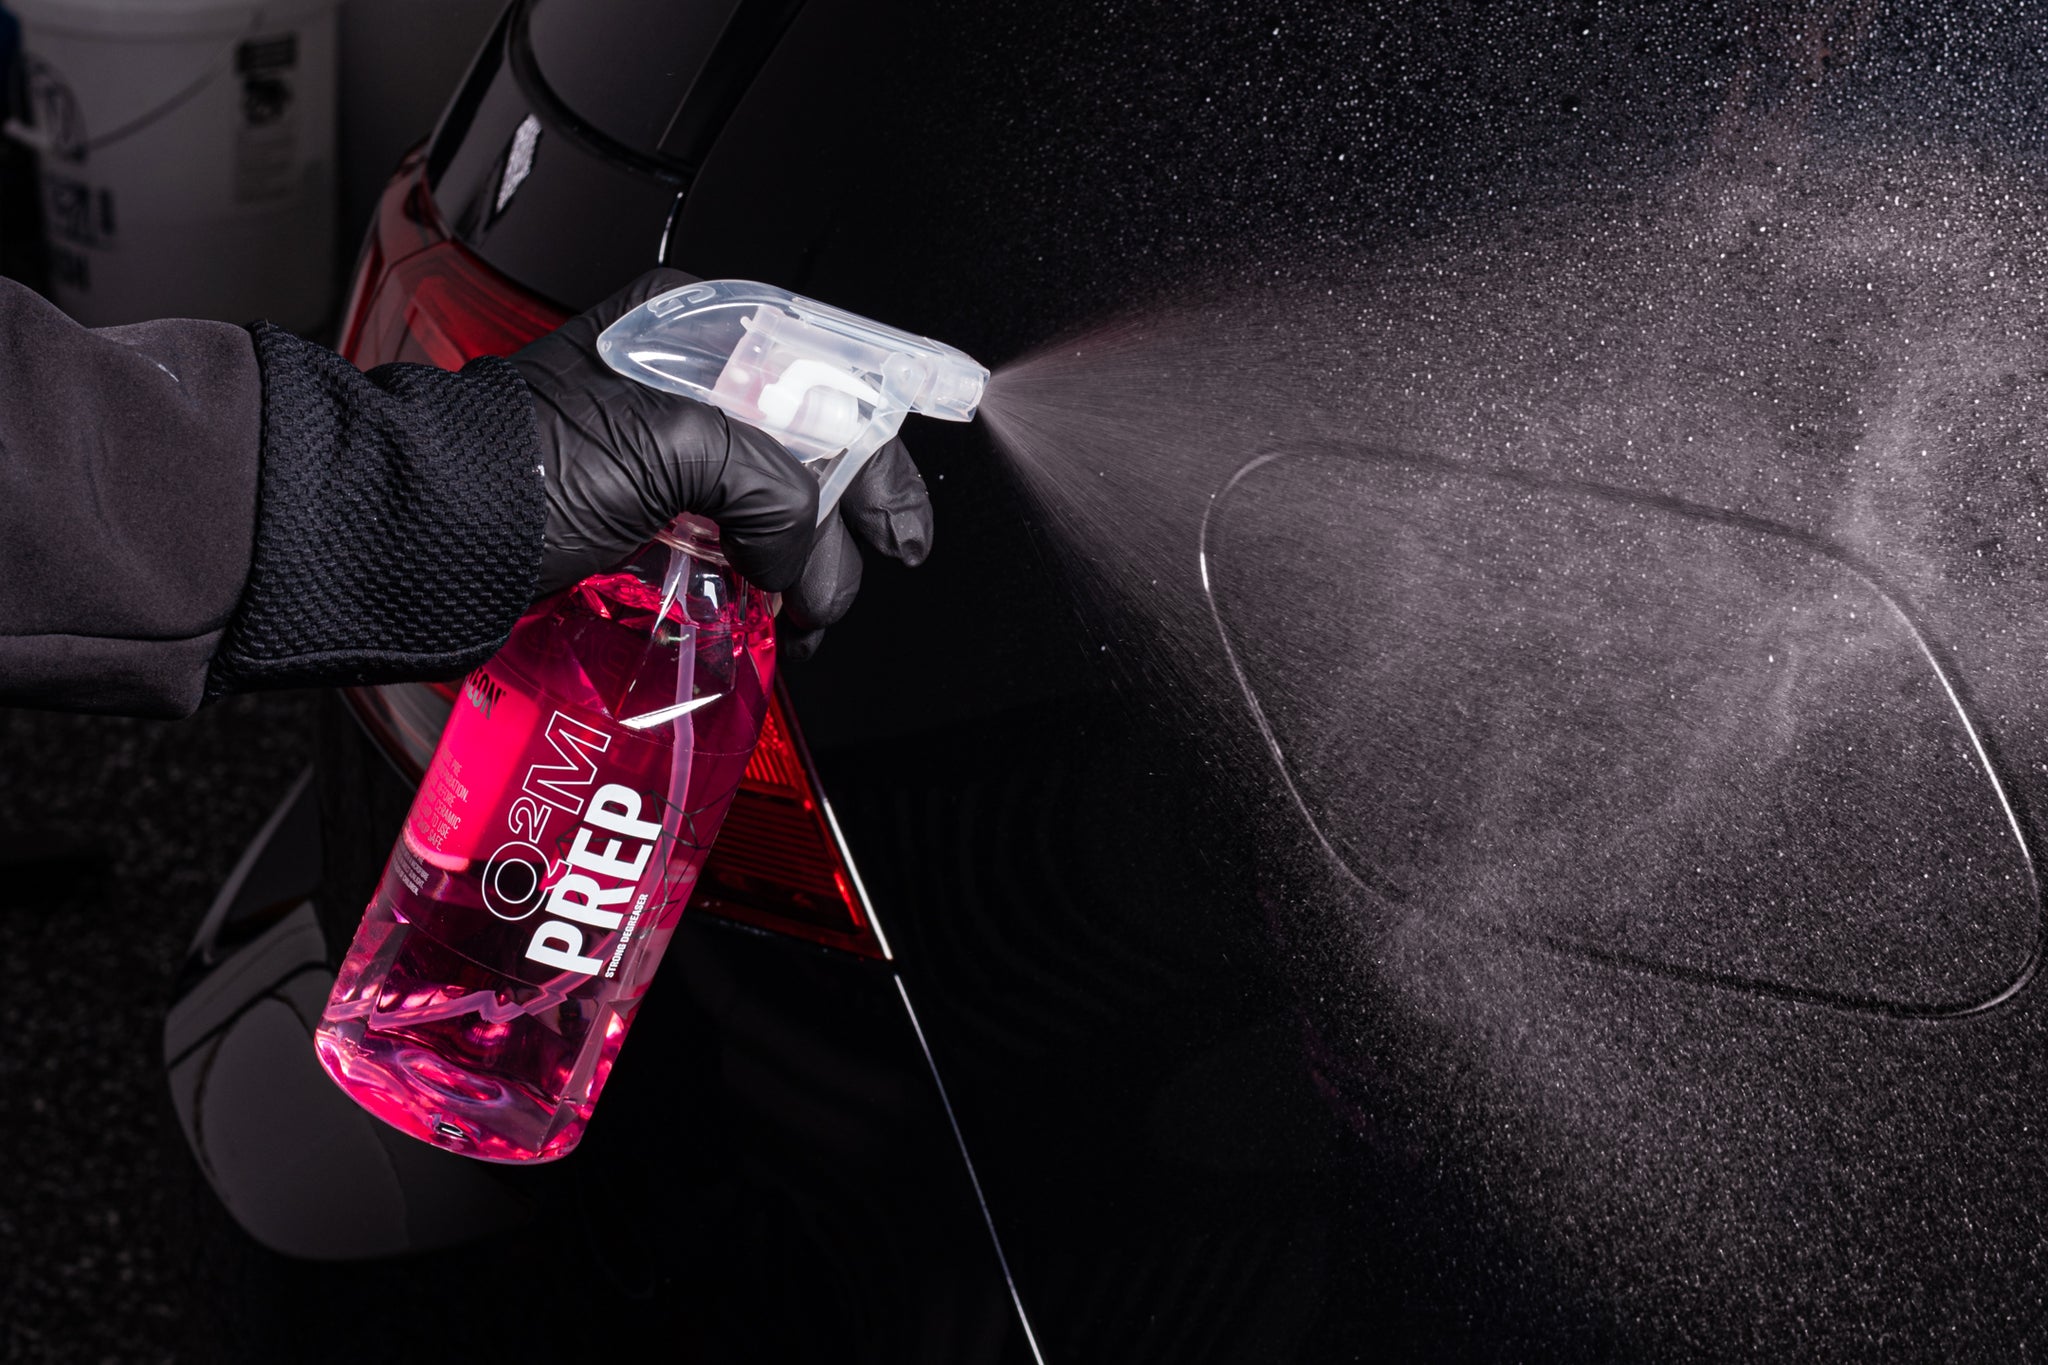
Once the decontamination stage is complete, we want to remove all lubricants, detergents, and polishing oils that may be in place from the previous detailing step. For this, we use GYEON Prep and a few GYEON SoftWipe Towels. Apply Prep generously on the paint and other surfaces to be coated and remove safely with the microfiber towels.
Application of GYEON Ceramic Coating

Now that all the prep work is done, we are ready to apply the ceramic coating. Make sure your working area is clean and well organized so you can focus on the application completely. It is best to wear a pair of nitrile gloves when working with the product.
Begin by gently shaking the bottle of coating. Apply a liberal amount of the product to the applicator provided. One common mistake during the application process is not using enough product in each area, so make sure to apply a sufficient amount of ceramic coating to your working area. To ensure an even application, work on a shoulder-width area and avoid expanding during the process to prevent an uneven application. You may apply the coating in a crisscross, "cross-hatched" pattern, or in circles. The critical part is to lay down a uniform layer of coating on the paint surface.
Ideally, it is recommended to have three removal towels. Wait for 10-30 seconds after applying the coating to the shoulder-width area before performing the first removal step with a GYEON BaldWipe towel. Then, immediately go back over the area with a GYEON SoftWipe or PolishWipe in a circular motion to pick up any excess product. To ensure that no high spots or excess product are left on the paint, it is advisable to come back with a third towel. Check each panel to ensure that no product has been missed. This step requires good lighting or a quality handheld light.
Once the entire car is coated, it should be kept indoors and contaminant-free for at least 12 hours before driving. Ideally, wait for 24-36 hours if possible. To ensure that the coating is protected from the elements in the near term, applying a layer of GYEON Cure is recommended. It is advised to wait 14 days before washing with any detergents.
Congratulations, your GYEON DIY Ceramic Coating application is now complete! To achieve optimal performance from your new ceramic coating, follow the GYEON Maintenance Guidelines, which can be enjoyable!
Your GYEON DIY Ceramic Coating application is now complete! To achieve the most performance from your new ceramic coating follow the GYEON Maintenance Guidelines, which can be a ton of fun!
TAGS:
